How to film a property walkthrough video - A guide for videographers
As a London-based videographer, I’ve filmed all kinds of property walkthrough videos. From compact flats in Shoreditch to five-storey townhouses in Kensington. A good property video could be the difference between an agent getting someone in the door or someone not viewing the property. A great property walkthrough video will not just showcase the property but will sell the lifestyle the prospective buyer wants.
Whether you're a videographer, estate agent, or developer, here’s how I approach filming a professional property walkthrough video in London — and how you can do the same.
1. Plan the route before you hit record
I say the route but I’ve never actually showed a walkthrough video in one shot. That would be far too long and viewers would switch off before they’ve even seen half the rooms. I approach each room individually, work out the best feature to focus in on and then cut everything together in the edit. This method also reduces fatigue which can lead to wobbly shots on your gimbal.
The walkthrough should feel like a natural viewing — not a random sequence of rooms so plan the sequence before recording begins is key.
2. Use the right equipment (but don’t overcomplicate It)
Kit I recommend for videographers filming property walkthroughs:
Full-frame mirrorless camera (canon R5)
Wide lens (14mm range is ideal)
Fast lens with lots of depth of field (35mm F1.4)
Gimbal stabiliser. I personally use the DJI RS series. Stabilisation is essential. Shaky footage won’t cut it.
ND filters (London light changes constantly)
Tripod for smooth panning shots which contrast the push through shots on the gimbal.
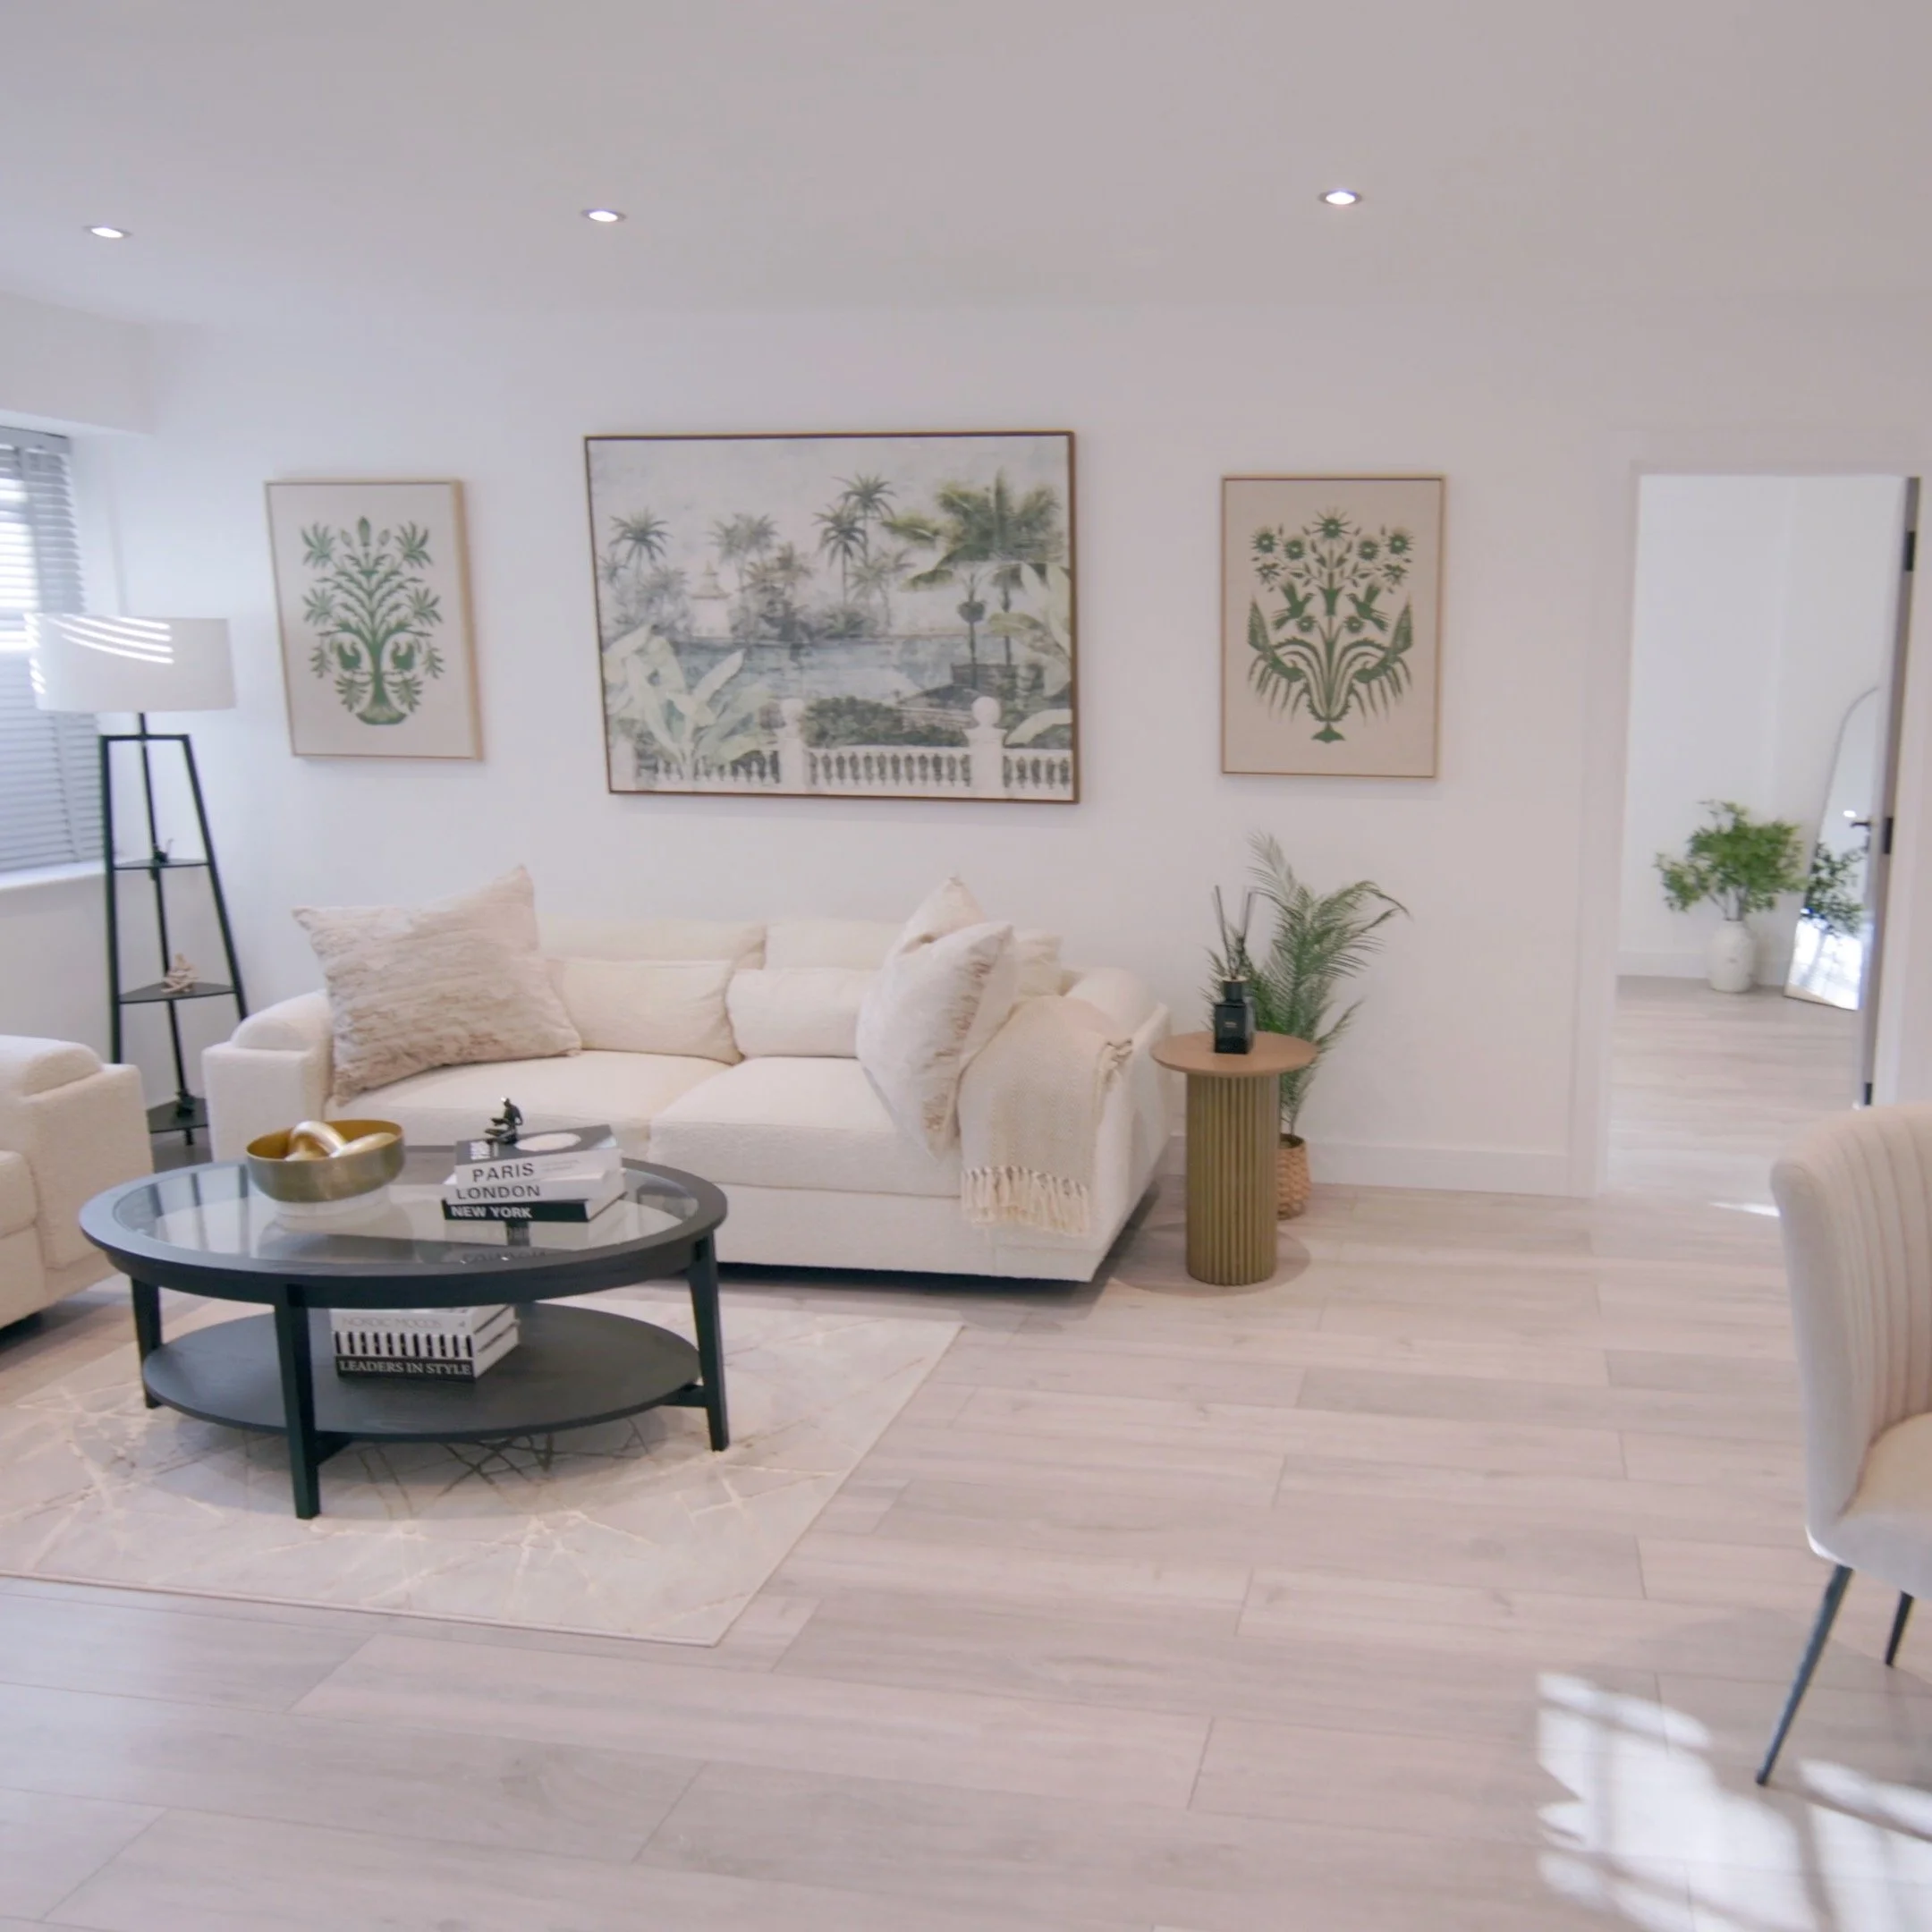
3. Master the Lighting
Natural light is your best friend — when it appears.
In London, we deal with overcast skies for much of the time but waiting for a sunny day is worth it if it can be done. Filming only takes a couple of hours for apartments and small houses. Check the weather forecast and if there is a small window of sun that day, plan to shoot during it. Beautiful sunny pools of light on the floor just looks stunning. Cameras that have great dynamic range will shine here. A professional videographer will plan ahead.
4. How to move when using your gimbal
This is the most common mistake I see. A property walkthrough should feel like someone walking through the home smoothly. Not wobbling and not racing.
My movement rules:
Slow, steady pace
Ninja walk to reduce wobble
Smooth direction changes
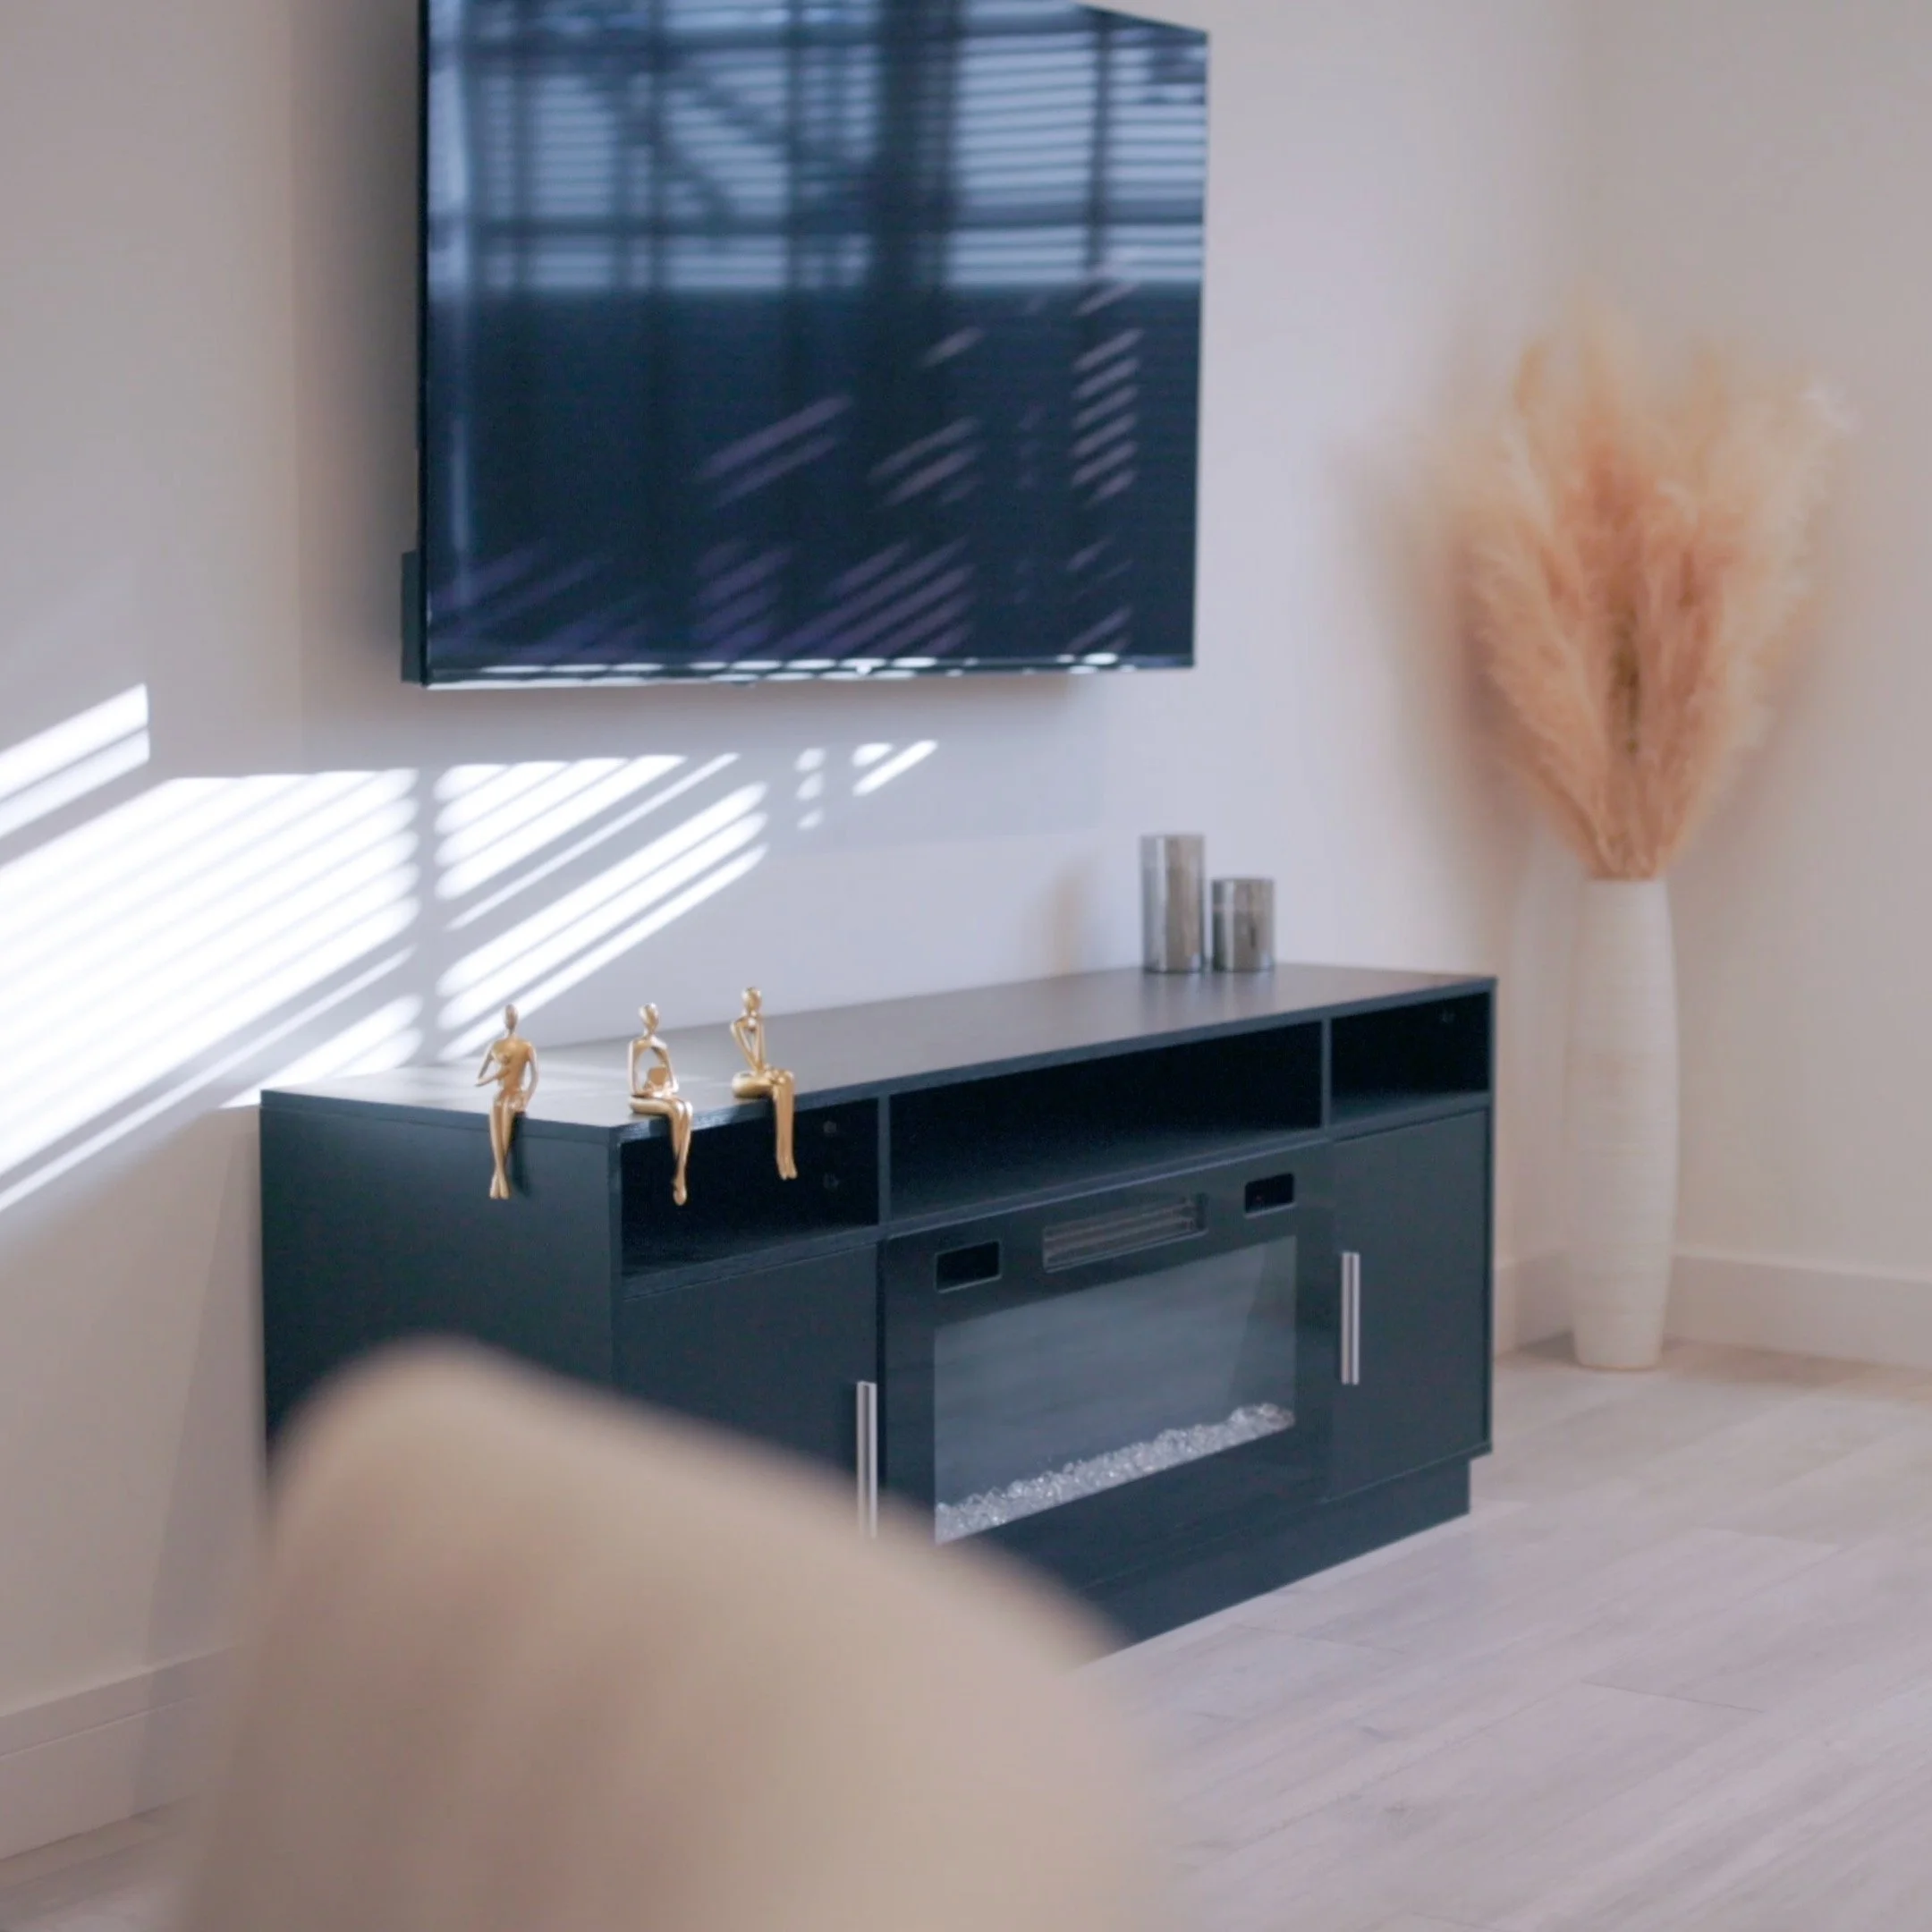
5. Capture lifestyle cutaways
This is something many videographers skip. In London, buyers purchase lifestyle as much as property.
If appropriate, I’ll capture:
Lifestyle details found in the house such as architectural details, art and interesting decor.
Tree-lined streets or nearby parks
Local landmarks
Drone images to locate the property
6. Edit with pace and a luxury vibe
In post-production:
Keep the video under 60 seconds. People wont watch more than this.
Use light, modern music with a cool vibe.
Colour grade naturally with balanced whites.
Correct vertical lines (critical for interiors).
Add simple but luxury feeling text and fonts.
Final Thoughts
Filming property walkthroughs in London is about vision and mastering your kit. Once you have that down the video will come together easily. Just remember, the goal isn’t just to show the property — it’s to help someone imagine living there.
And in a market as competitive as London, the difference between an average walkthrough and a strategic one can directly influence how quickly a property sells — and for how much.
Film it with intention and technical precision and your property videos will get potential buyers through the door.


Planning a video project? Explore my videography services in London or view recent work.