Creating an interview video
For any busy London based videographer, regular interview videos are a staple of work. I film somewhere between fifty and a hundred interview setups each year so have a great knowledge and experience of creating a great interview video setup. In this article you can find some great hints and tips for creating a professional looking interview video setup.
Sound
My number one tip for a good interview starts with sound. Without good sound you have nothing. Even if you have a poor visual, if you have sound, then you have something to work with. Without sound however, you have nothing to work with. With that in mind, pick a spot that has no background noise. Common issues might be AC noise, building work going on outside or other workers making noise. I always confirm a quiet space with the client before the filming day. Once you have a quiet space you’re good to setup your sound gear. Talking of which, if I dont have a sound guy with me, I will setup two separate microphones. One is a lapel and the other is a directional microphone. This way you have a backup if something goes wrong with the other. It’s about covering yourself as much as possible to avoid any issues.
Lighting
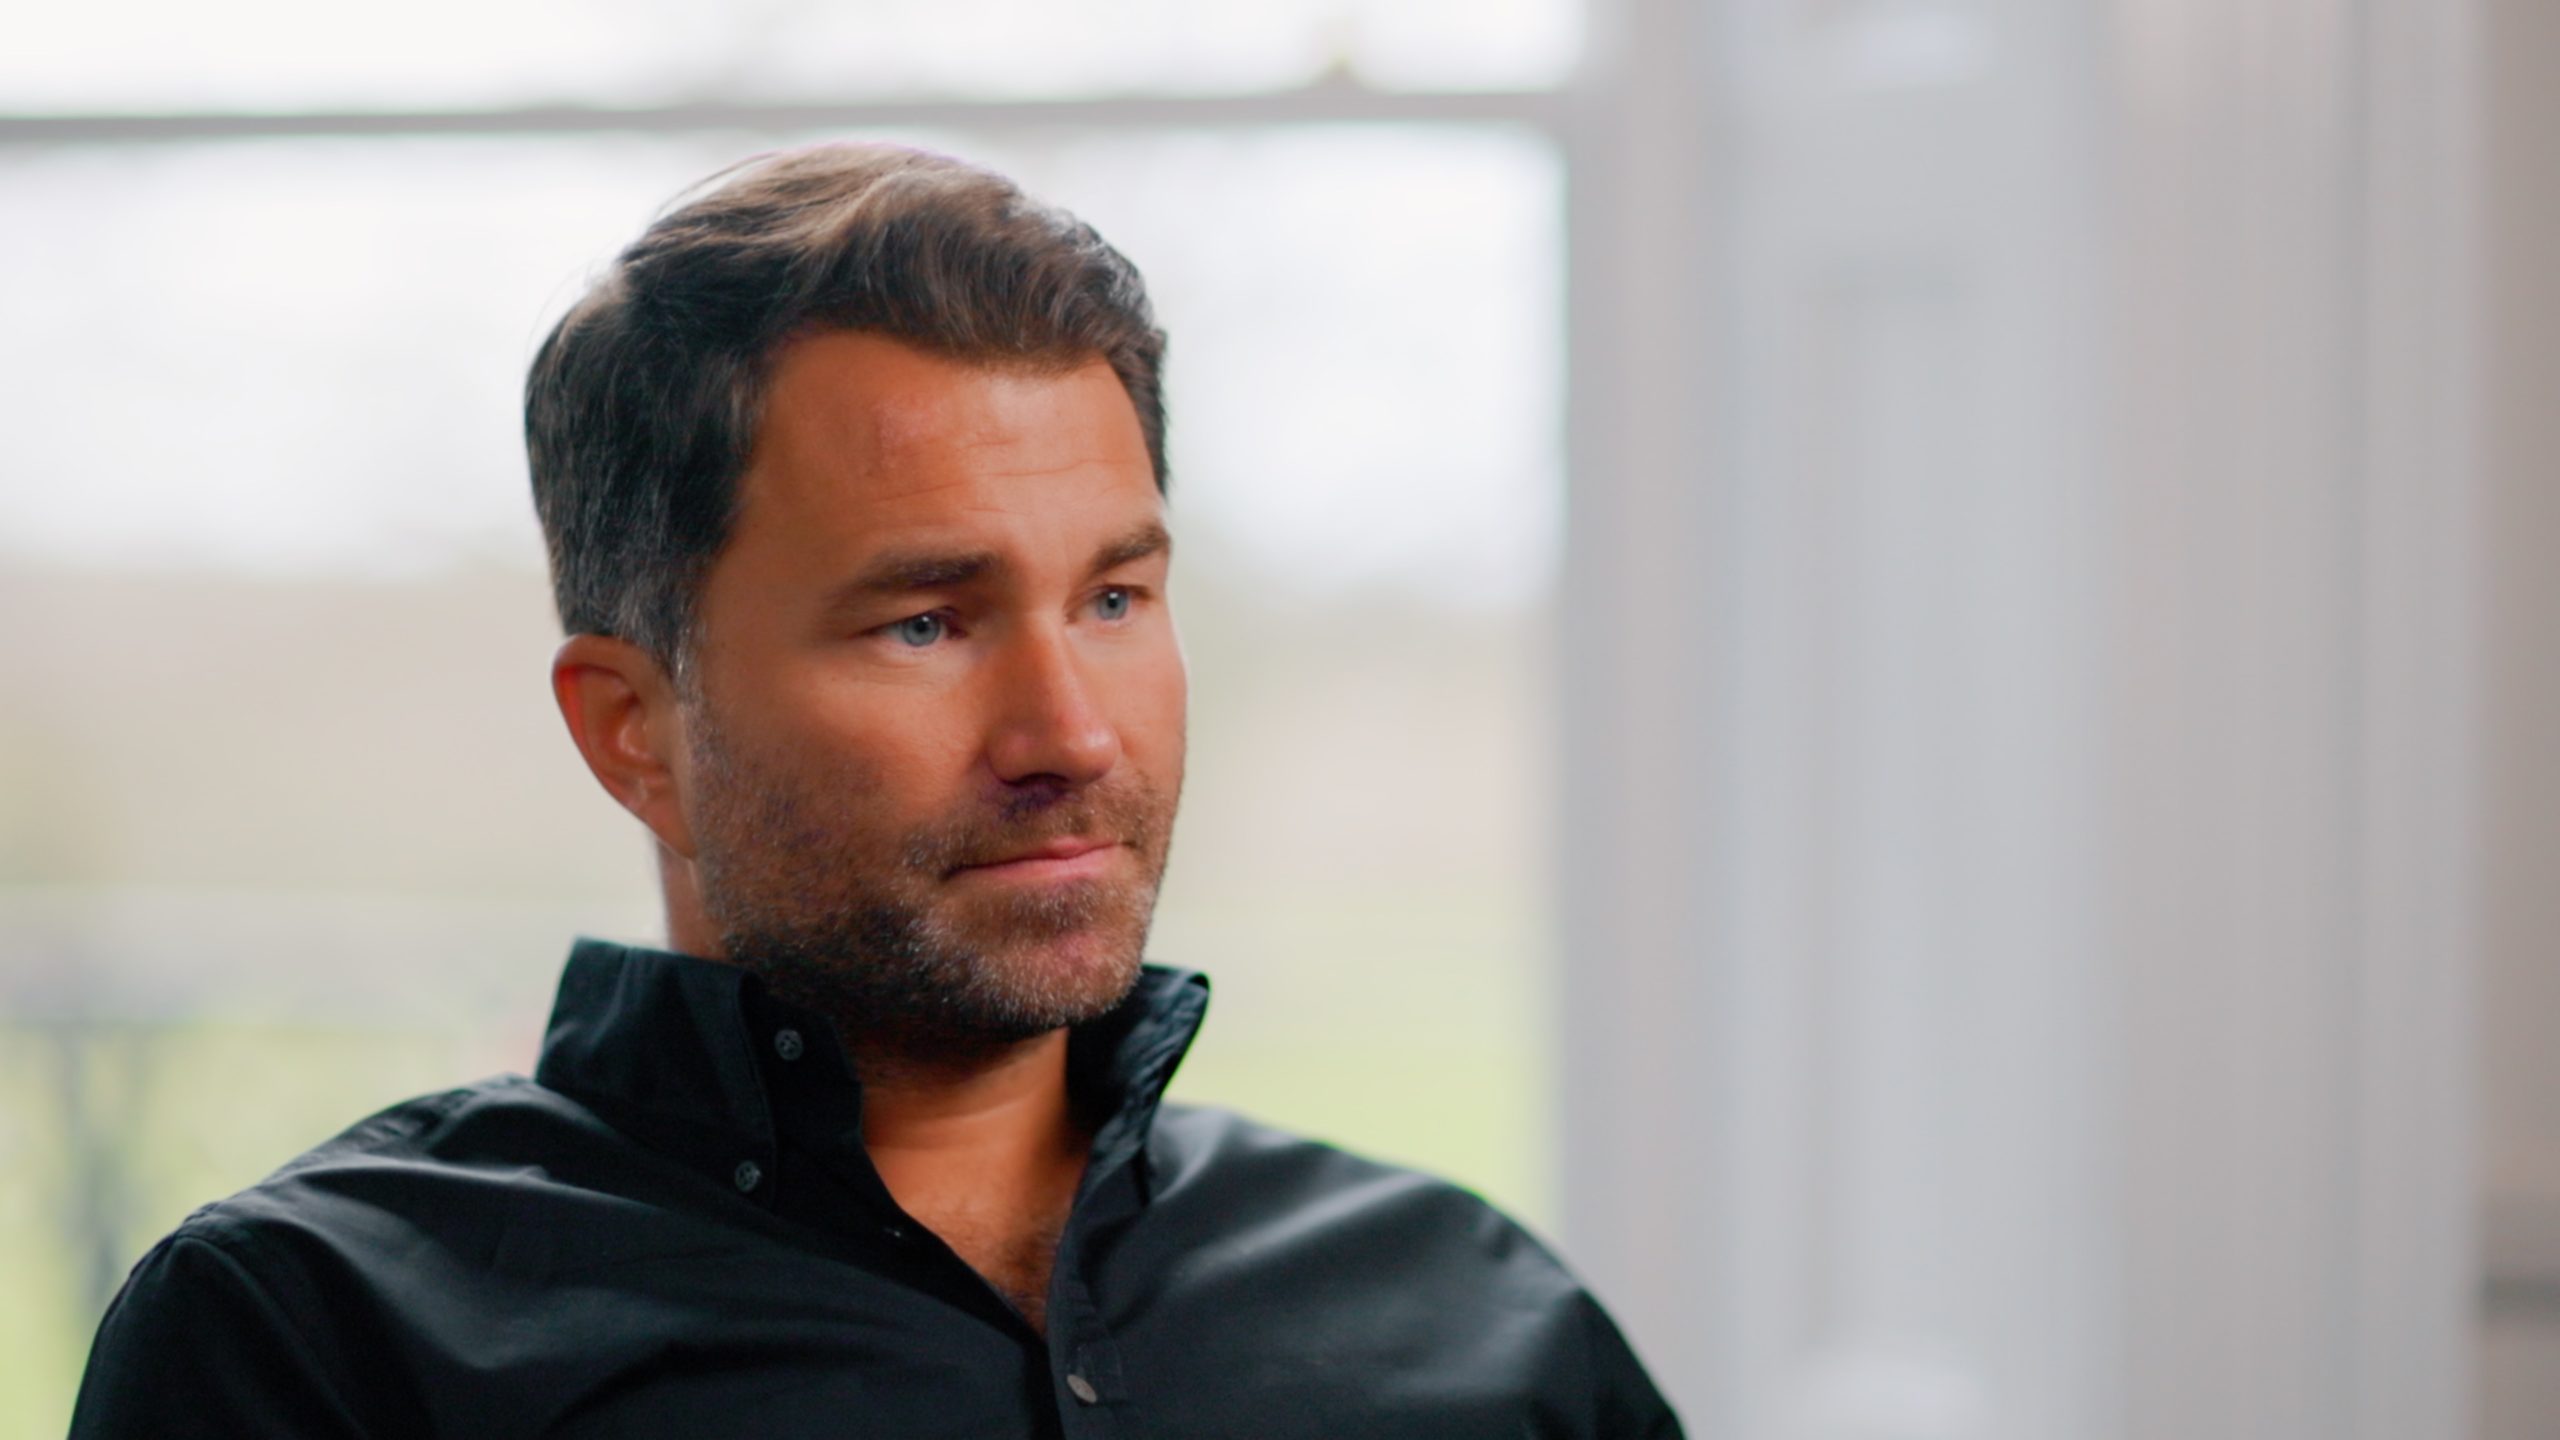
When it comes to lighting, this is the top way to visually lift your interviews from something dull to something that looks amazing. You can film in 8k raw and it can still look poor without any decent lighting. Likewise you can film in regular 1080HD and with some great lighting it will make your interview look fantastic. Balancing the overall lighting in the image is essential. For some interviews you might want to have them more evenly and ‘high key’ lit. Less shadows and more of a nice bright overall image. Other projects you might want to add more shadow if they are more of a gritty subject. It’s worth thinking about this before you even strike your first light.
The majority of interview setups I do, I end up using four lights. A soft key light to light the talents face and then a fill light to fill in the shadows on the other side to a degree that works. Then I usually use a kicker light from bending to pick the talent out from the background. Lastly is the background light. I can choose the level of light that hits the background. You can change the balance of all these lights to give different looks and feels. Don’t forget, when it comes to lighting faces, everyones is different. As a result, you will want to adjust the hight of your key light to make it work for different face shapes and deep set eyes.
Camera angles
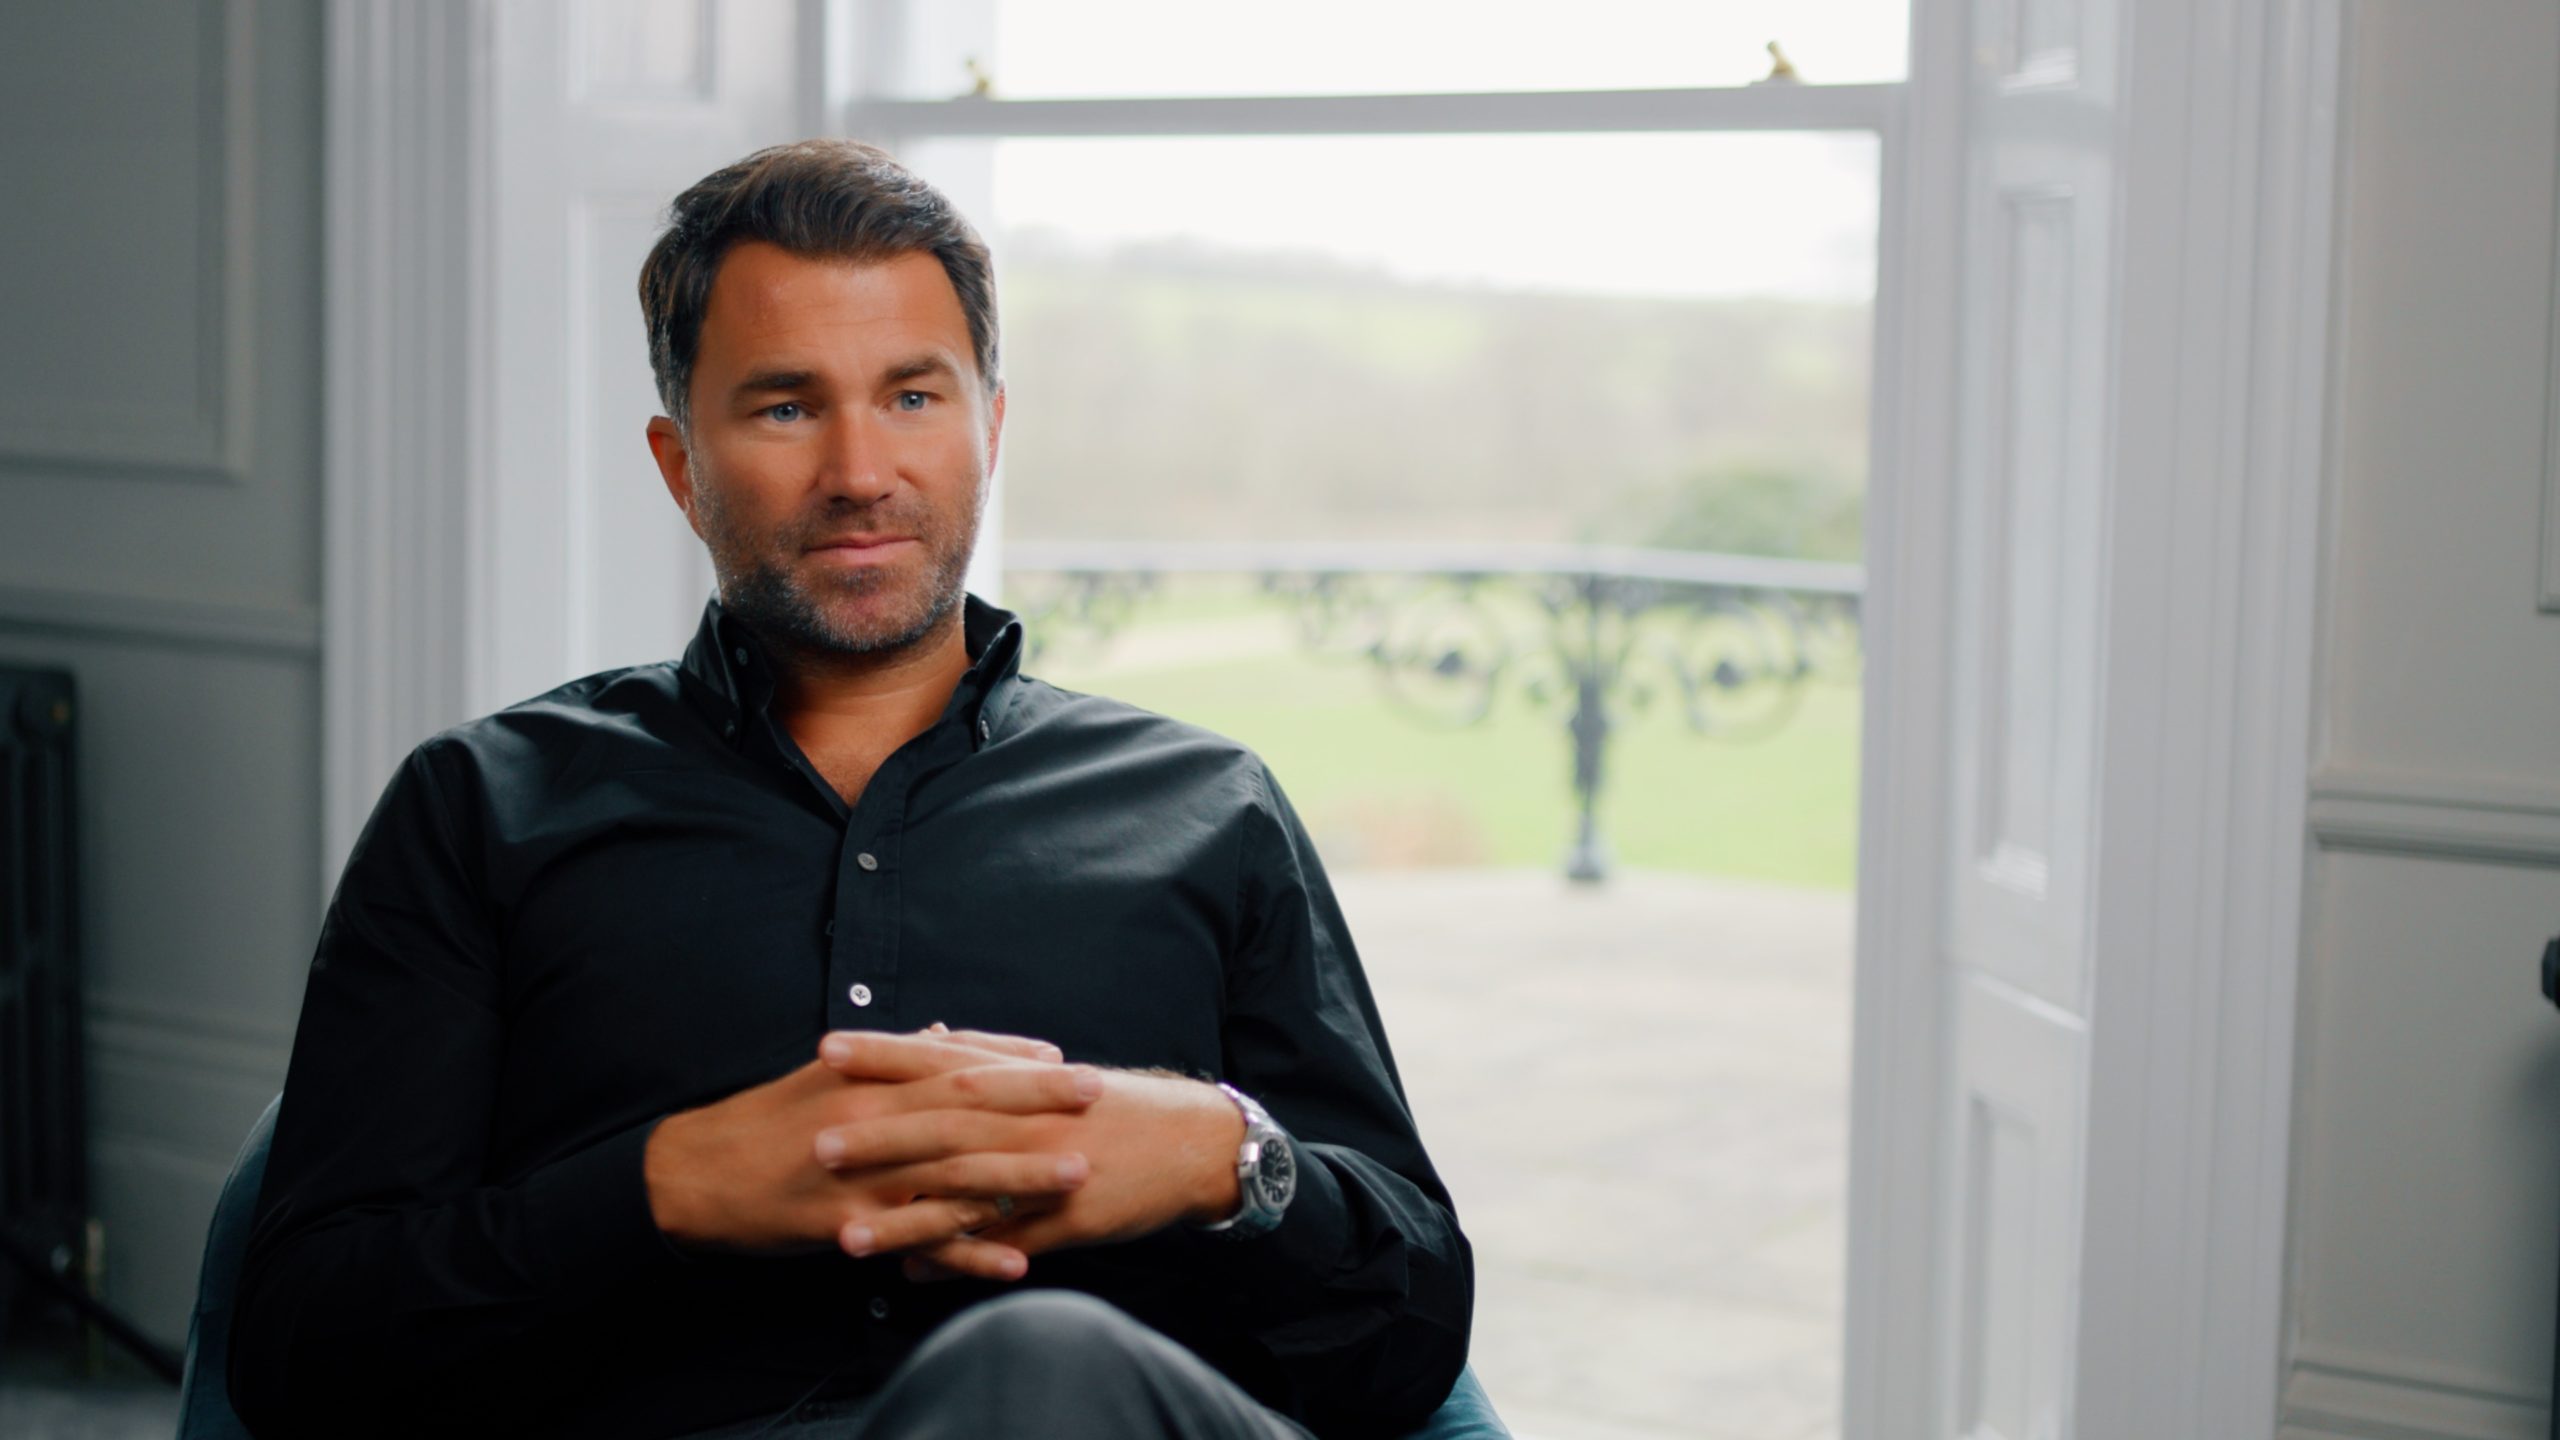
When it comes to cameras, I usually opt for a two camera setup. One medium and one closeup. Two cameras means you have a cutting point for the edit and will keep the viewer more engaged. I like to film at F1.4 to get some real depth to the image. Cameras have such great autofocus these days that this is entirely possible even when setting up two cameras on your own.
Wrap up!
So there are my top tips and hints to creating amazing looking interview video setups. How do you like to film your interviews? Do you have any tips of your own? I’d love to hear your opinions so leave a comment below!